
Show the whole property before the details
Start at the street, then work your way around the areas you can safely and lawfully access. Show the house, garage, driveway, yards, and paths between them. Someone who has not visited should be able to understand where the proposed work would go.
A close-up of a crack or meter can be useful, but only if the reviewer knows where it is. Take one wider photo first, then move closer for the detail.
- Street frontage and driveway approach
- Front, rear, and both sides of each relevant structure
- Open yard areas and routes between street and work area
- Relationship to fences, walls, slopes, and neighboring buildings
- Visible utility meters, panels, cleanouts, and overhead lines
Keep the photo sequence simple
Take each wide view, then a medium view, then the detail. Keep the phone level where practical, avoid digital zoom, and photograph in enough light to see the condition. If a detail is important, include one image showing its location and another showing it closely.
Group the files by area: street, side yard, garage exterior, garage interior, utilities. You do not need a polished slideshow. Clear labels and a consistent order are enough.
- One wide orientation image
- One medium image showing the element in context
- One close detail where necessary
- A short note identifying the direction or location
- A ruler or tape visible only when scale is useful and safe
Take a few measurements that relate to the idea
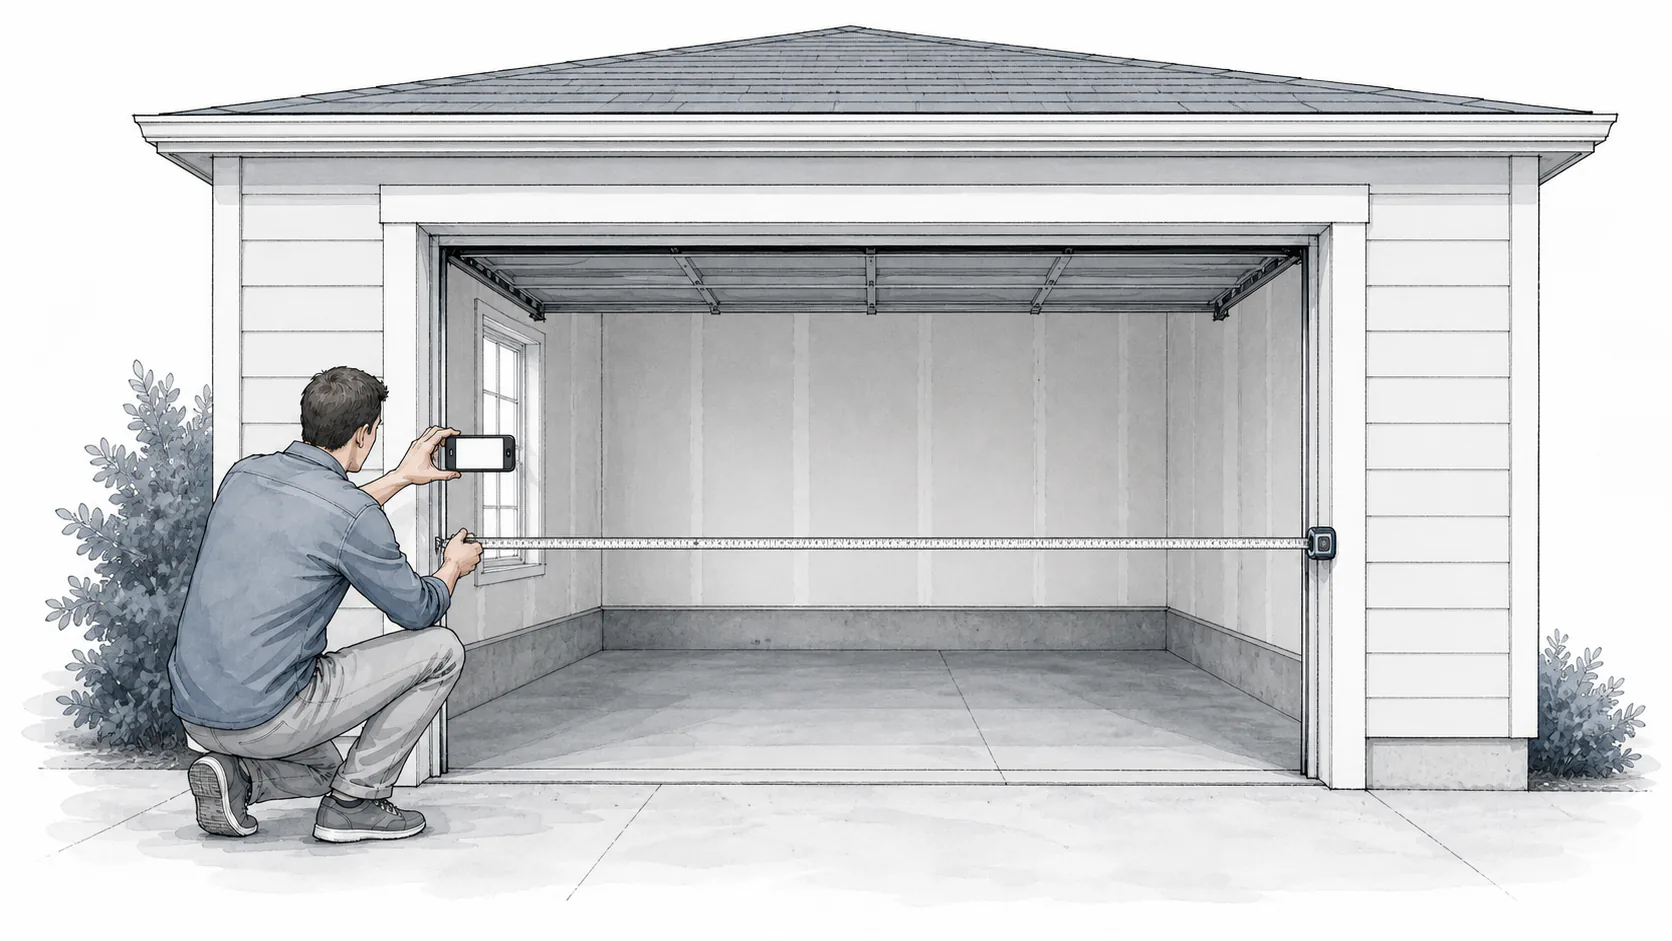
Remote review does not require you to survey the entire property. Measure the conditions that directly affect the ADU idea: overall garage interior dimensions, door and window openings, ceiling height, wall-to-fence clearances, distances between structures, and the width of a likely access route.
Write down what you measured and where the tape started and stopped. If a number is approximate, say so. A wall-to-fence measurement, for example, should not be labeled as a distance to the property line.
Document an existing garage from outside and inside
For a possible garage conversion, show the roof form, wall surfaces, openings, slab, framing, ceiling or rafter space, electrical equipment, plumbing, vents, and any visible alteration. Photograph every wall from the opposite side of the room when possible.
Do not remove finishes, open electrical equipment, enter unsafe attics, climb roofs, or disturb suspected hazardous material for a remote review. Conditions hidden behind walls, below slabs, above ceilings, or underground remain unknown unless separately investigated.
- Exterior elevation of each wall
- Interior view toward each wall and corner
- Slab edges, cracks, steps, or drainage concerns
- Roof and ceiling framing that is safely visible
- Doors, windows, vents, panels, plumbing, and equipment
Explain what you want to do
Send a short description with the photos. Are you thinking about converting the garage, building a new detached ADU, or adding to the house? Include the rooms you want, approximate size, intended use, and the question you most want answered.
That gives the reviewer a reason to look at each photo and measurement. If something cannot be understood remotely, the review should say what is missing and whether the next step is another photo, a site measurement, a survey, or a question for a consultant or agency.
Take wide photos, add useful details, and label your measurements. Keep it safe, keep it organized, and include a short explanation of the ADU idea.
Official sources and useful references
Links checked September 8, 2026. Confirm that the current guidance applies to your property when you use it.
Have a project in mind?
Share your idea and what is still unclear. We’ll help you find the right starting point.
This article provides general educational information. Property records, site conditions, required specialists, and city or county review may change the answer for a specific project.